We’ve got two new tutorials to share with you, both featuring the new XinaBox SL06 xChip. All you need to add is Zerynth Studio, a few lines of Python, and a couple of xChips. Sounds like a pretty good recipe for a remote gesture/proximity sensing device.
First of all, both articles are pretty similar, but we decided to share both, and let you decide which one you want to follow.
- Remote Gesture Sensing with XinaBox CW02-SL06, Zerynth, and Ubidots
- Remote Proximity Sensing with XinaBox, Zerynth, and Ubidots
Now, it’s clear from the titles that one teaches you how to make a gesture sensing device, and the other how to make a proximity sensing device.
But here’s the main difference between the two tutorials:
“Look for the SL06, when you bring near, the hand/object the ubidots variable is updated with greater value until 8-bit limit (255) is reached, and when you move away from SL06 the value is decreased until 0 is displayed.”
“Look for the SL06, when you swipe your hand towards the SL06’s North or South, ‘up’ or ‘down’ is printed on the console screen and dots are printed until the status is updated on Ubidots with its numerical representation i.e. “1” represents “up” and “0” represents “down”.”
So, it’s all up to you. Pick the one that you like more, and start programming.
Getting Started with XinaBox xChips and Zerynth
If this is the first time you’re reading about the xChips, and you want to learn how to get started, check out these articles:
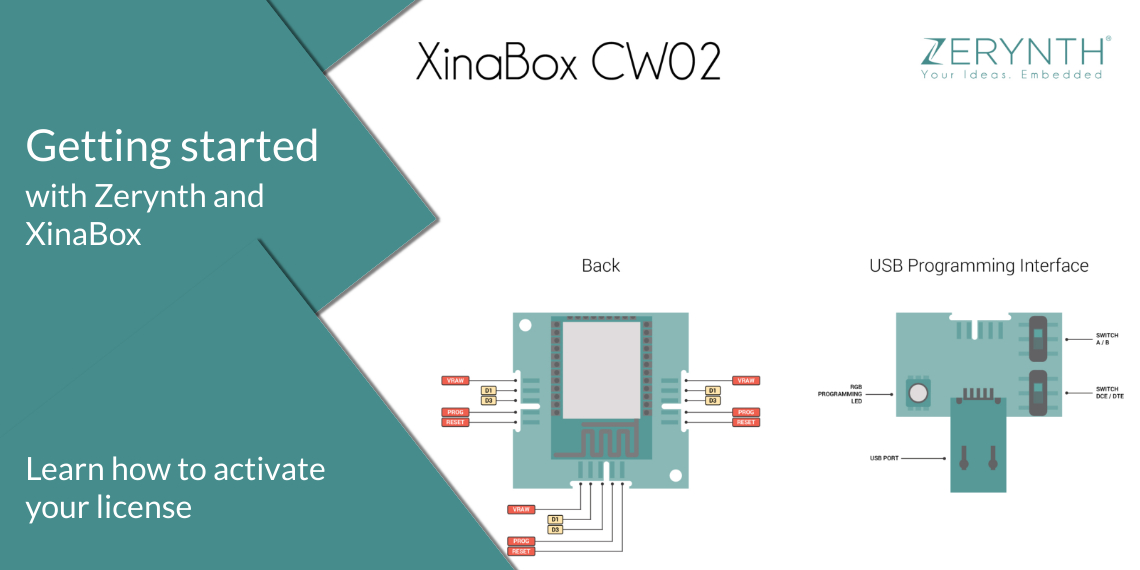
All the tutorials we’ve mentioned in this article feature the CW02 xChip that has a Zerynth license onboard. That means you can start programming straight from the box. You just type in the voucher code during the installation phase, and that’s it.
Download Zerynth Studio
Now, all you need to do is download Zerynth Studio. Installing it takes only a few minutes, and it’s available for Windows, Linux, and Mac OS.


 Related Posts